Build size budgets

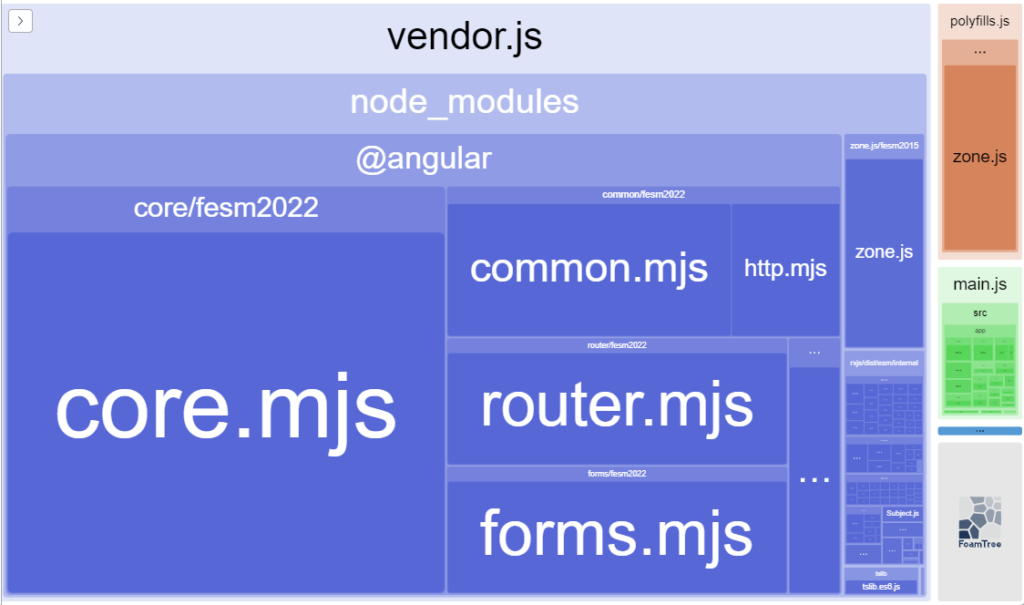
As mentioned earlier in this newsletter, the size of your Javascript matters a lot, as our code has to be downloaded first, then parsed and interpreted by a browser, which will get slower and slower as the size of your app increases. This is why we want optimized production builds. And this is also why it’s always a good idea to keep track of the size of your production code after each build.

Fortunately, the Angular team has our back and integrated build budgets in the Angular CLI. You can use those budget settings to decide when to get a warning or even fail a build it your code becomes too big. This configuration happens in angular.json:

The above (default) budgets would warn you if your Javascript exceeds 500Kb in size and fail once the build exceeds 1Mb. Those are already part of your projects, so you don’t have to do anything to use them.

If you do continuous integration, your build will fail right after the commit that degraded your bundle size, making it easy to troubleshoot and fix the issue.

Most of the time, dependencies are the culprits. I remember coaching a client who needed some Excel-like features in the browser, and their build exploded to over 25MB because of a massive monolithic Javascript Excel library. Thanks to the build error, we knew that this library wouldn’t work, so we chose a lighter one instead.

In the past, I’ve also inherited projects where I would track our build size version after version. My client was amazed to see that despite adding features, the build was getting smaller and smaller after each release, thanks to Angular always being better at tree-shaking and having the incentive to clean up old code and make it smaller. When you start tracking a metric, you want to improve it!

Use functions for readable RxJs operator chains

When you have complex RxJs operator chains, a good idea is to refactor them into simple functions. This can also favor code reuse for simple scenarios such as the following example.

Say we have a User object with the following shape:

We receive that object through an Observable; all we want from it is the user’s age. Using Rxjs (and date-fns), we could do something like this:

This works, but it’s not instantly apparent that we’re computing the age of the user, and if we need similar code elsewhere, we’d have to copy-paste that line of code, which is terrible.

Instead, we could create a function with an explicit name:

And then use it as our new custom operator function:

We can improve the signature of our function for type safety purposes, too:

You can see that code in action on Stackblitz here.

Obviously, the approach makes even more sense when you have several operators, and you can even combine such operator functions with other operator functions:

Now we have beautiful, maintainable code that can be read without documentation.

Angular style guide

People often ask me the best way to organize their files/folders. While it’s mostly a matter of personal preference or a team decision, the recommendations of the Angular style guide are always good to follow.

For instance, when it comes down to folders, here’s what the official style guide says (the highlight is mine, as I find this to be true for myself):

What’s great about the Angular style guide is that it always provides why such approaches are recommended. As you can see, the above justifications make perfect sense.

Also, while some recommendations are purely naming conventions, others touch on architecture decisions, such as talking to the server through a service or using directives to enhance an element (somewhat similar to my earlier call to think more about directives instead of components).

ngFor trackBy for improved performance

We all use the ngFor directive on a daily basis. The directive is used to repeat a template as many times as needed based on an array of data we want to render. We covered how the directive exposes useful local variables in the past.

To help Angular perform DOM updates when items in the array are reordered, new items are added, or existing items are removed, we can add a trackBy attribute that specifies what unicity criteria Angular will use to track these additions/removals/reorderings:

Of course, this only helps if the array in question is subject to changes in the future. By default, Angular uses Object.is() to compare values in the array, which is somewhat similar to a === comparison.

In our case, we created a function that specifies how to track by _id:

That way, Angular will know how to compare objects efficiently and won’t perform DOM updates that aren’t needed, which can be a huge performance boost if you’re displaying a massive data table with thousands of records. You can see this example in action on Stackblitz here.

Prefer template-driven forms

International readers might not know that today is a public holiday in the United States as the country celebrates its birth and Independence. As a result, I’ll make today’s post very short but still useful.

Over the past couple of newsletters, I explained that template-driven forms are perfectly fine in most cases. A few years ago at ng-conf 2021, Ward Bell said he always uses template-driven forms and explained how he does that in less than 19 minutes.

If you’d rather read a short article, you can head to my “reactive template-driven forms” post where I showcase how template-driven forms are actually… a layer on top of reactive forms, and that you could still access reactive features on a template-driven form if you wanted to. I know, it’s mind-blowing!

Happy 4th of July if you’re in the US!

Reactive forms Observables

Last week, I gave you a simple decision framework to decide when to use reactive or template-driven forms.

As a matter of fact, the only reactive (meaning RxJs-friendly) piece of reactive forms is that FormGroup, FormArray, and FormControl all extend the AbstractControl class and, as a result, expose two different Observables:

Those two can be very powerful when used alongside some RxJs wizardry (see this tutorial on dynamic filtering with RxJs and Angular forms, for example). In their most simple form, we can use those to listen to changes in our form and react accordingly:

In the above example, we enable the city form control if a 5-digit zip code has been entered. Since we are subscribed to valueChanges, any future change of the zipcode value could enable/disable the city input.

The other Observable, statusChanges, focuses on validity changes only and returns one of the four following values:

Here is an example use case for statusChanges, which is more accurate than the previous example as this one would take into account all validation code relevant to the zip code:

Reactive or template-driven forms?

People are often conflicted when it comes down to forms with Angular. Should we use template-driven forms or reactive forms?

Here’s a simple answer:

  • If your form is dynamic (meaning: if the user selects this option, then add/enable or remove/disable other form elements) or will rely on RxJs for reactivity (meaning: auto-complete features or on-the-fly validation of user input using HTTP requests), then use reactive forms.
  • In all other scenarios, template-driven forms should be perfectly fine.

That’s it. A bonus for you: If you want to have custom validation of your form, use this tutorial to implement custom validation that works with both template-driven and reactive forms, so you’re not tied to a single option and can still change your mind later on.

Running unit tests on continuous integration servers

We talked about unit testing a couple of times last week. One of the main benefits of unit tests is that they run quickly and provide immediate feedback. As a result, we get the best return on investment when running those unit tests on a continuous integration (CI) server after each commit.

Two challenges come with running unit tests on a CI server:

  1. The default test runner for Angular projects (Karma) opens a Chrome browser to run the tests, which is challenging on most CI servers (typically Unix based with no UI support).
  2. The ng test command doesn’t stop on its own. It keeps watching the source code for updates and then reruns the tests.

Fortunately for us, there is a single command that addresses both problems:

Running the command will result in a single test run (thanks to --watch false) and will run in a UI-less way (thanks to --browsers ChromeHeadless). That’s all your CI server needs to do.

If you’re using an older version of Angular, this old tutorial of mine might help you configure Karma accordingly.

Angular Accelerator Program

Since I started this newsletter at the beginning of the year, quite a few people have inquired about one-on-one coaching/training from me.

Several people have also asked for more preparation content for the Angular certification exams.

As a result, I’m about to launch the beta test of an Angular Accelerator program, and you can show your interest by filling out this form.

The program would combine weekly exercises and access to a Slack channel shared with other learners, me, and possibly other Angular experts, as well as live Q&A sessions and code reviews for each exercise.

On top of that, you would have access to all my video courses during that month of training. If you think this could interest you and want to try it as a beta tester, here is the form to fill out. You can also suggest ideas in that form.

Beta testers will be selected in the next couple of weeks based on their availability and time zone constraints, and the first cohort will likely be soon after that in July.

Thank you so much for your attention and participation.

How to pass multiple pieces of content from one component to another?

Yesterday, we saw that we could use content projection to pass an HTML template from one component to another. But what if we want to pass multiple different templates? We can use multi-slot content projection.

Here’s what we want to achieve:

In our reusable dialog component, we will have multiple ng-content elements. Each ng-content will have a specific query selecting a template to render:

These queries use the CSS selector syntax. In the above example, we’re using [], which means we are selecting HTML attribute names. As a result, our parent component will pass two distinct templates, one for the body and one for the footer, using the following syntax:

You can see an example of such code in action on Stackblitz.