You’re probably used to creating Angular applications, but what about Angular libraries?
First, it’s essential to define what an Angular library is. A library is a collection of components/pipes/directives or services bundled together that can be shared and used in multiple code repositories. As a result, Angular libraries are designed to be published on npm (publicly or privately) so they can be shared with other people externally or internally.
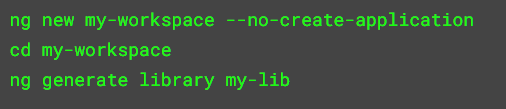
If you want to start a new library from scratch, these Angular CLI commands will get it done:
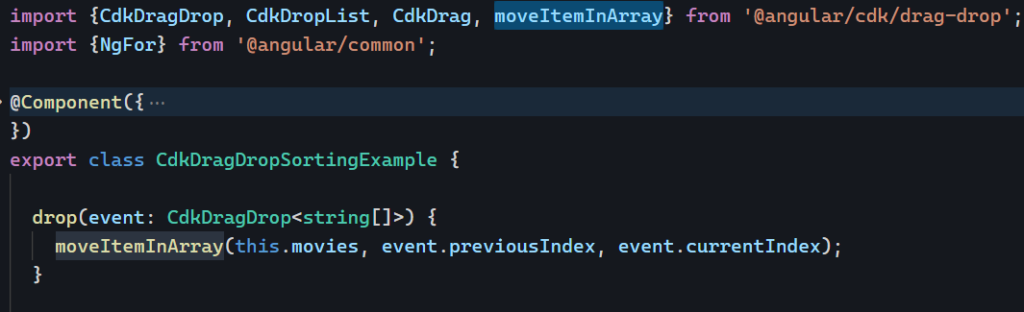
The above commands create a projects/my-lib folder in the workspace, with a sample component and service in it. The main difference between a library and an application is that a library exposes public features that can be imported into other libraries or applications.
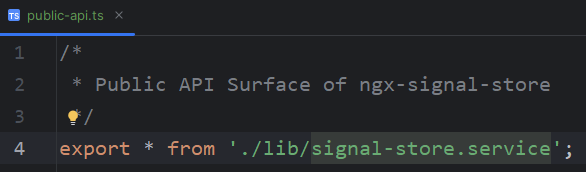
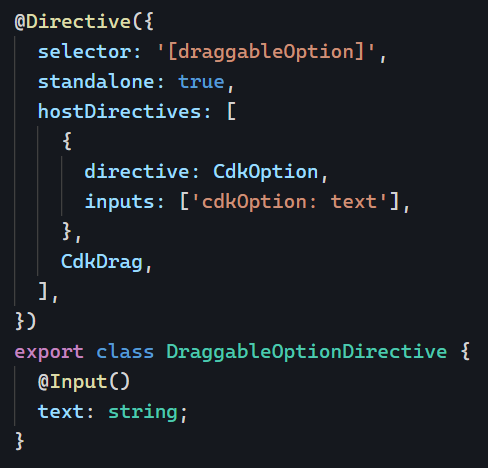
Such features are listed and exported in public-api.ts in the library folder. That’s where you decide what’s public/private in your library code. In this example, the library is just one service:
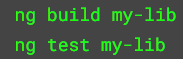
Then, to test or build your library, you can use regular Angular CLI commands such as:
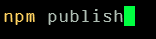
Once built, a library can be published to the public npm repository with one single command. This command has to be run from the dist folder where the compiled library can be found after running your production build:
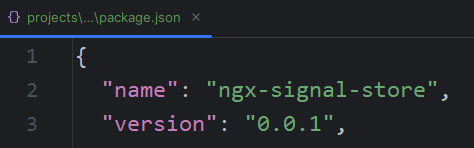
Note that this command requires an npm account and npm authentication before you can publish. Upon publishing, the version number used in your package.json will be used as the public version number on npm:
And on npm’s website:
At that point, anyone can run npm install [your-library-name] and use your code in their projects. Nice and easy!
Note that the library I used in that example is a work in progress and should not be used as-is in your apps.