Yesterday, we covered how to generate CSS animations for our Angular applications. Today, let’s see how to use such animations as route transitions when navigating from one route to the next:
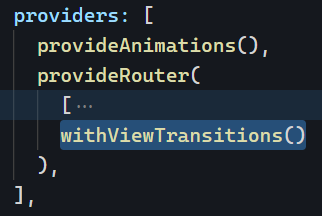
The first thing we need to do is add the right providers for animations and transitions along with our routing config:
Then, we can create two different animations: One to exit the current “page” and one to enter the next “page.” In my example, I made two animations called entrance and exit using the CSS animation generator tool:

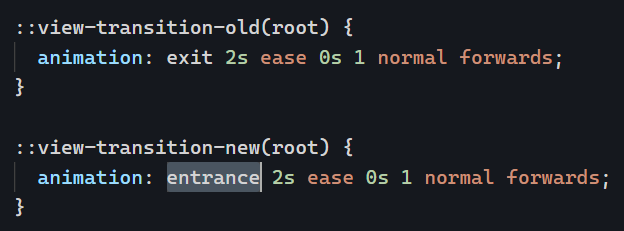
Angular has two specific selectors for view transitions: ::view-transition-old(root) for the exit of the old page and ::view-transition-new(root) for the entrance of the new page. Our next step is to “plug” our animations into these selectors:
And… that’s it! Router animations are now in place. You can see the code for that example in action on Stackblitz.